How to Braid a 6 Strand Challah Bread | Easier than you think!
Updated May 24, 2022
This is a tutorial post on how to braid a beautiful 6 strand challah bread, with step by step instructions, pictures and a video.
If you're looking for the recipe to make the challah dough, click here.
Looking to create an impressive challah bread that will evoke oohs and aahs at the dinner table? Then it's time to try out a 6-strand braid.
Let go of the little voice in your head that says it's too complicated. You can do this! Hadassah Sabo Milner was my guru in getting me through a 6-strand braid with no complications and no stress.
VIDEO Tutorial: How to Make a 6 Strand Challah Braid
Watch Milner's excellent 3 minute video tutorial a couple of times and then follow my instructions below.
The magic is in the mantra: Over two, under one, over two.
Repeat that aloud a couple of times. Then practice the braid (until you feel confident) with 6 strands of ribbon, repeating the mantra aloud as you go.
Then take a deep breath.... and go for it with the dough, saying the mantra aloud as you go. Don't rush it. Enjoy the process. Slow and steady will get you there.
HOW TO BRAID A 6 STRAND CHALLAH BREAD:
NO PRESSURE, NO STRESS,
DESIGNED TO IMPRESS
- Line a baking sheet with parchment paper and set aside.
- Transfer dough onto a floured surface and fold it a few times to create a rectangular shape about 6 x 3 inches.
- With a dough scraper/ bench knife, cut the dough into six evenly sized pieces.
- Roll each piece into a ball, then flatten it with your palm.
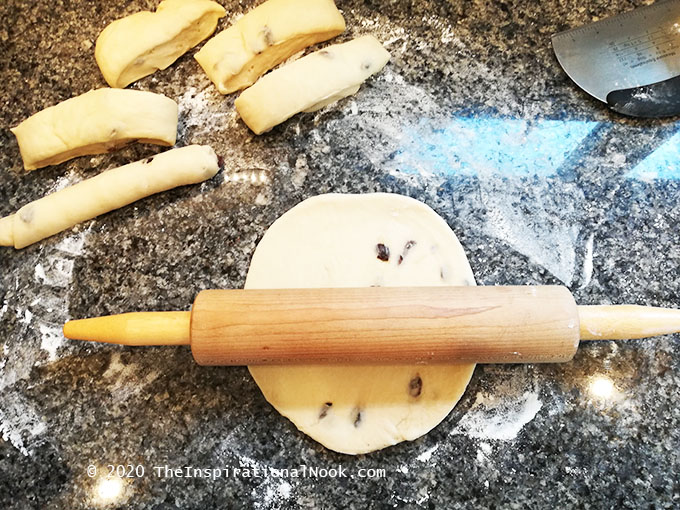
- Using a rolling pin, roll out the flattened ball into a disk about about a 1/4 inch thick.
 |
| Roll out a flattened ball into a disk. Then roll the disk into a log. |
- Using your finger tips, roll the disk up into a log. (much like rolling up a carpet).
- Using the palms of both your hands and gentle pressure, roll each log back and forth on the counter to remove the seam and elongate it, until the log becomes a strand 10-12" long.
- The strand should be slightly fat in the center and tapered at the ends to give the challah a beautiful shape.
- To taper the ends of the strands, pick up an end of the strand off the counter and roll it gently between your palms to elongate the end further.
 |
| Roll each log to elongate it into a 10"-12" long strand |
- Lay the 6 strands out vertically (in a teepee shape).
- Pinch all the strands together at the top
- Start to braid the strands starting from the right.
- Follow the mantra: "Over two, under one, over two".
- Once the end is reached, tuck the end of the braid under.
- Turn, the braid around so that the top of the braid is now at the bottom. Undo a couple of inches of the originally pinched strands and following the same mantra, re-braid the strands to the end and tuck under. This gives a nice, neat shape.
- Using both hands, squish the challah firmly, first from top to bottom and then from side to side to form a nice compact rectangular shape.
 |
| Squish the loaf |
And there you go! A real beauty.... ready to pop into the oven.


